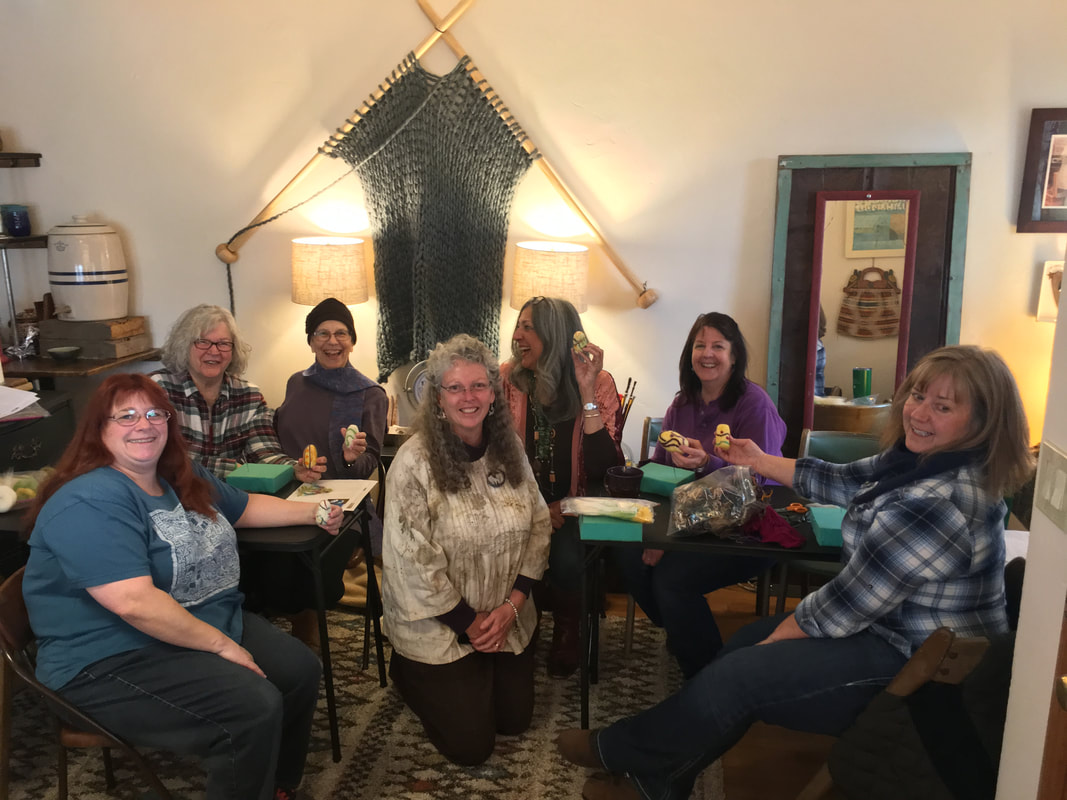
 Here we are, with our newly felted eggs. That's Lorraine in the middle. And if you see she is leading a class, take the class, whatever it is. She's a fantastic teacher! It's always fun when you get to learn about something completely new! And felting, to me as well as others, was completely new! We had five people join Lorraine and I for her "Introduction to Needle Felting" class. Five people who wanted to learn something new!
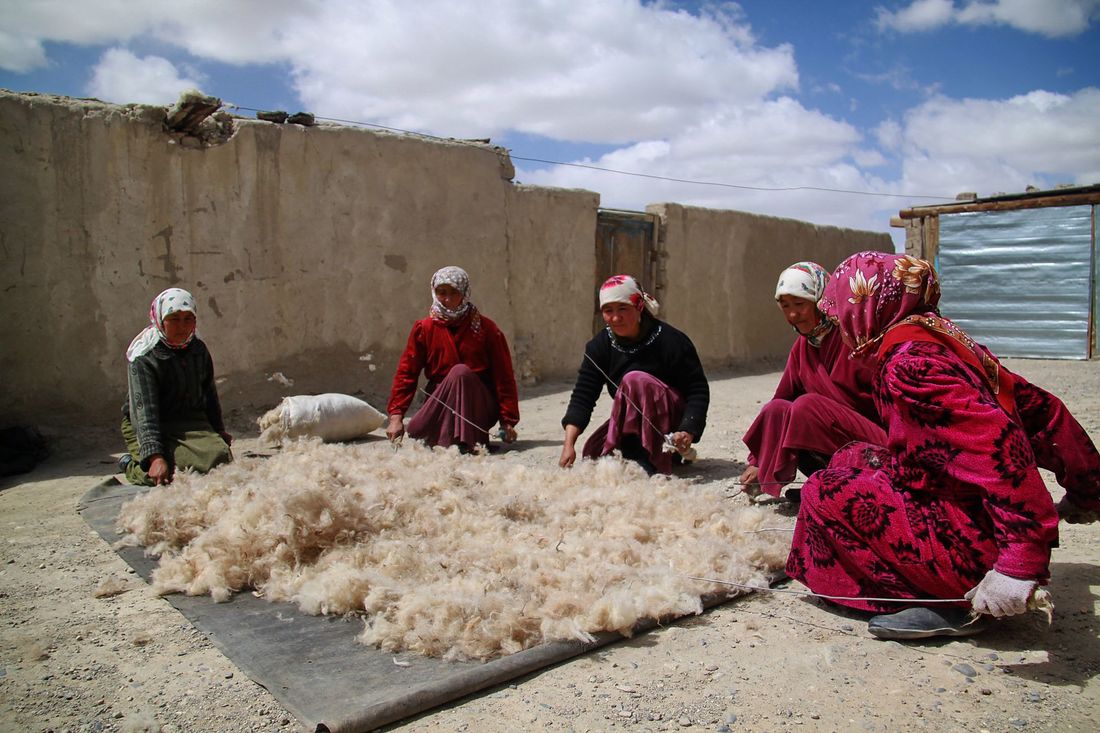
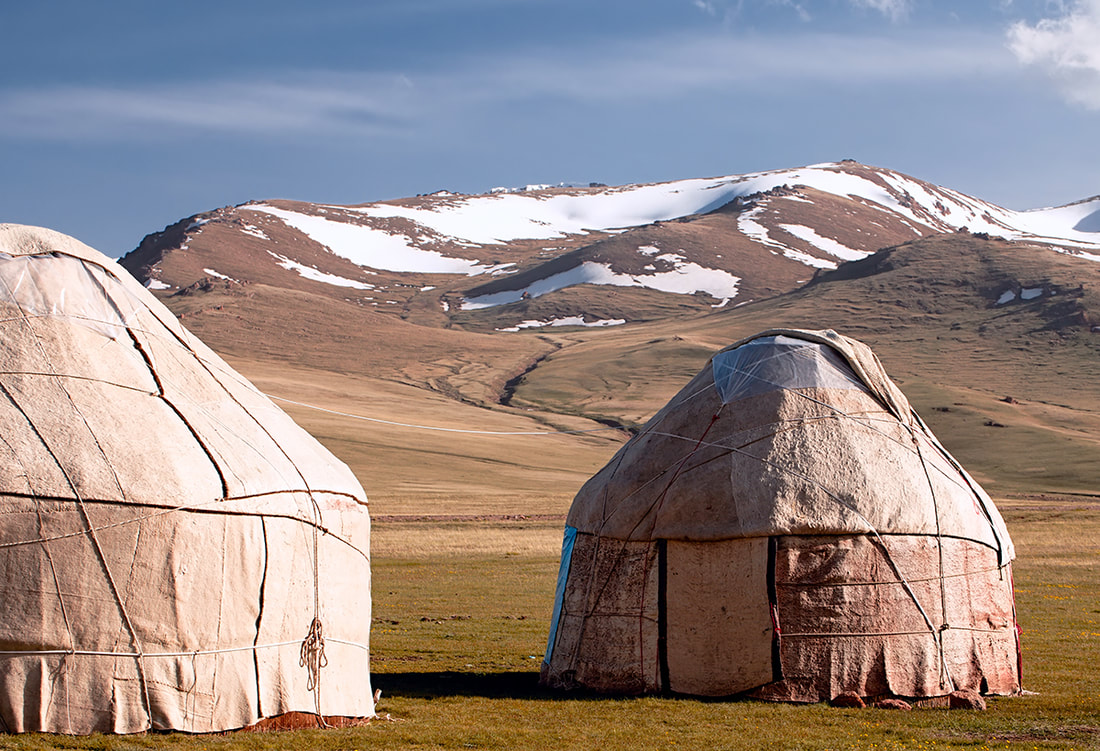
At the beginning of her class, Lorraine discussed the history of needle felting. Felting was first used in 6300 BC. Nomadic Mongolian tribes would create felt blankets for their yurts. They would lay "new wool" over a blanket of "mother wool," then lay a pole on top of the blanket, roll everything up and tie it off with ropes. After sprinkling warm water over the bundles, the next step would be to attach loops to each end of the pole, attach the other end of the ropes to their horses or camels, and drag the poles, felting the wool together. They would then place the newly felted blankets around a trellis of wooden sticks to form the walls of their yurts. Can you imagine what that must have looked like, watching horses or camels gallop across fields dragging these bundles behind them! But the resulting blankets would be warm, lightweight and weatherproof, which is exactly what a nomad wants! 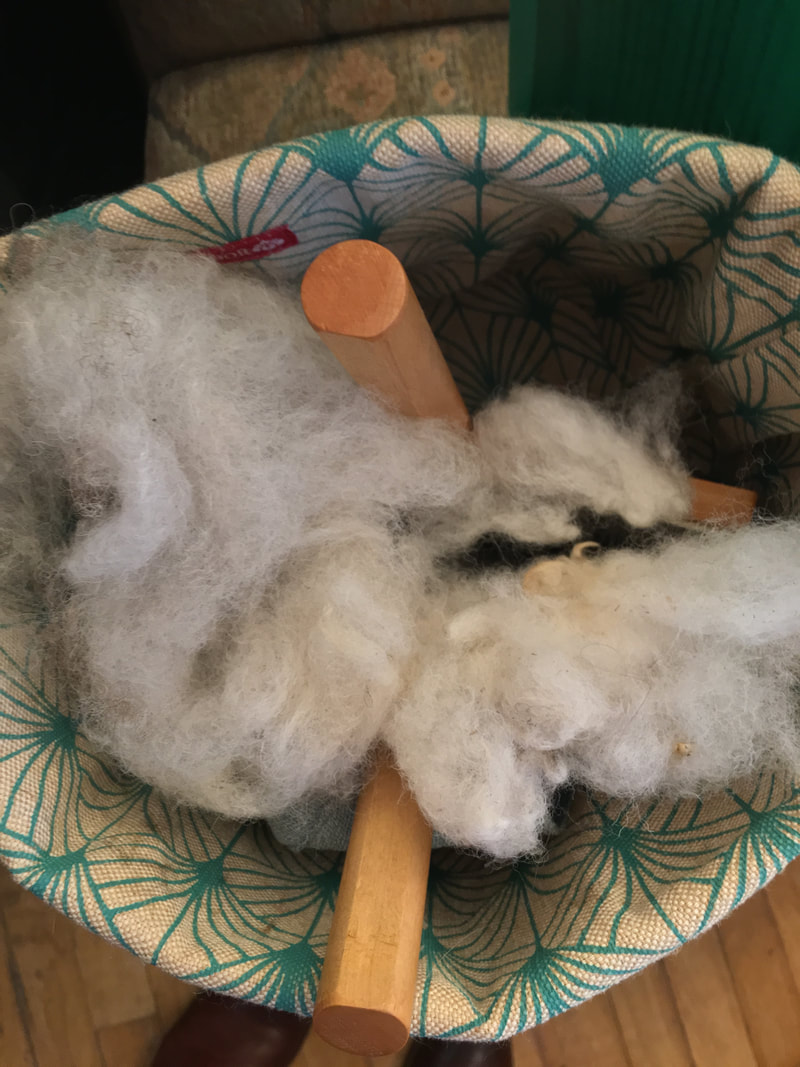 Roving and carding paddles And now we begin. Lorraine provided each of us with a large ziplock bag filled with our supplies, several hanks of roving in white, yellow and green, a piece of spongy foam and a felting needle. We talked about roving, what it is and what it is used for. To knitters, roving is a thick, bulky yarn that is not twisted or plied like most yarns. Recently, roving is used to create the huge, arm knitted blankets everyone has and wants. To spinners, roving refers to a continuous sheet of fiber that's produced by a carding machine or carding paddles.  The beginning. And now here is where the fun begins. Our next step was to slightly widen our roving. We pulled each side of the hank, widening the pieces enough for a larger than normal egg, then rolled up the hank width-wise. We then tore off another piece of roving, again widening it by pulling each side of the hank, and attached this piece to the egg rolling it up length-wise. 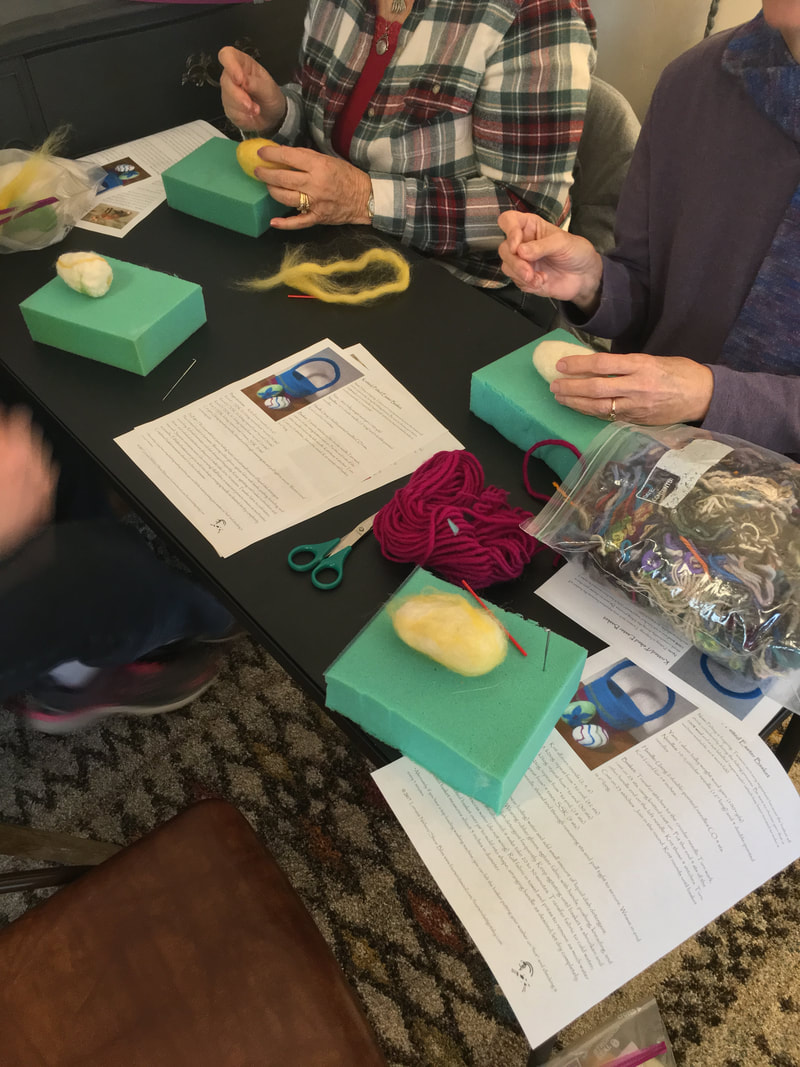 Working away at shaping our eggs Now the for the dangerous part of felting. . .using the felting needles.
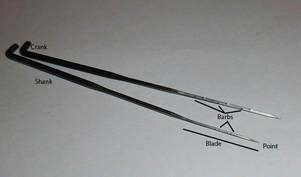
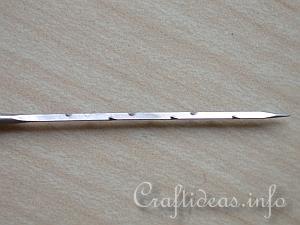
The felting needles are usually three sided with barbs used for meshing the wool together. And they are sharp, like super sharp! So, you either better be very careful, or have lots of Band Aids with you! Thankfully we had no real injuries, just one quick "ouch!" 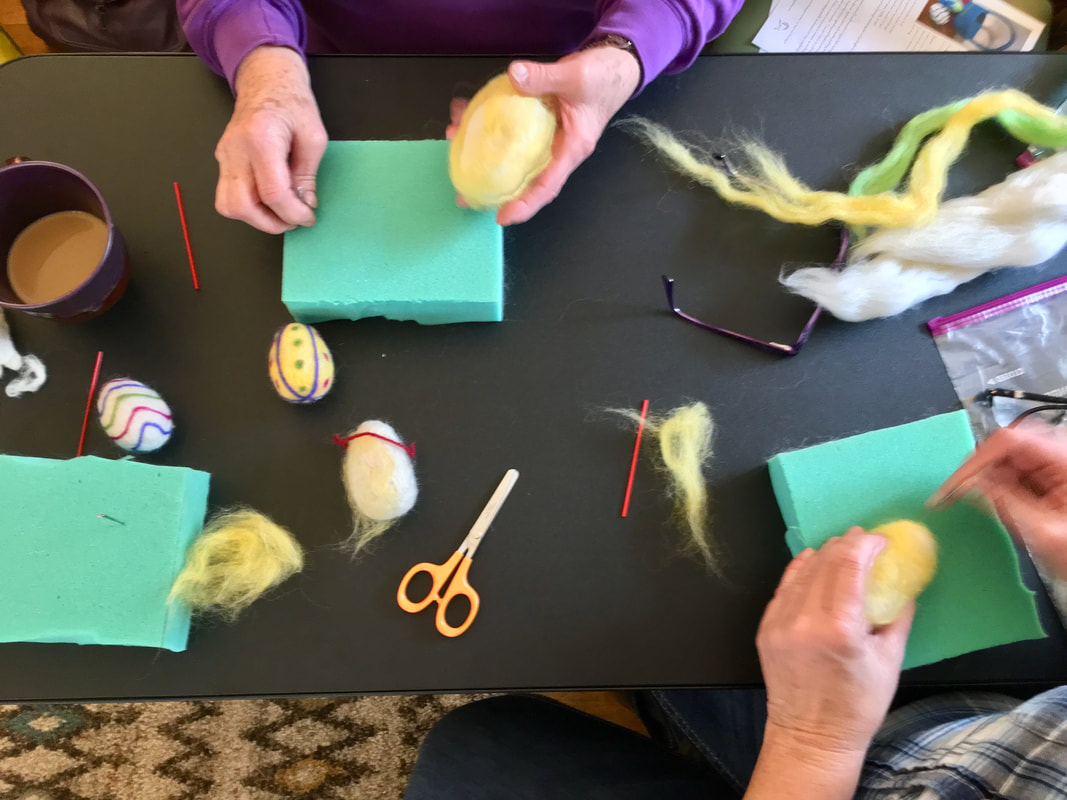 Poking away at our eggs! Poke and Poke and Poke, the life of a felter! Now that we all have rolled our eggs, the next step is to poke, and poke and poke our felting needles into the egg. This helps to connect or lock the wool fibers together, causing a more matted or dense material. "Hey, I'm loosing my shape!" "Mine is starting to look more like an Ostrich egg!" "If you are finding your egg is a little bumpy on one side, start poking there to put it back into shape!" Lorraine, calmly reassured us that as long as we keep poking at our egg with the felting needle, shaping will happen. 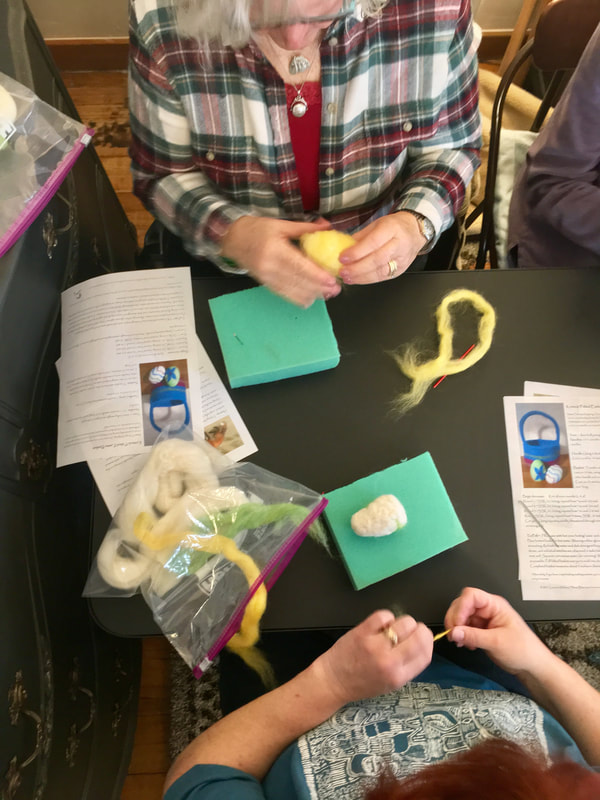 Adding color to our eggs. Sometimes, we sat in silence, as we poked and poked and poked at our egg. Sometimes we would break out in laughter. But most times our conversation flowed between felting, knitting, and life in general. 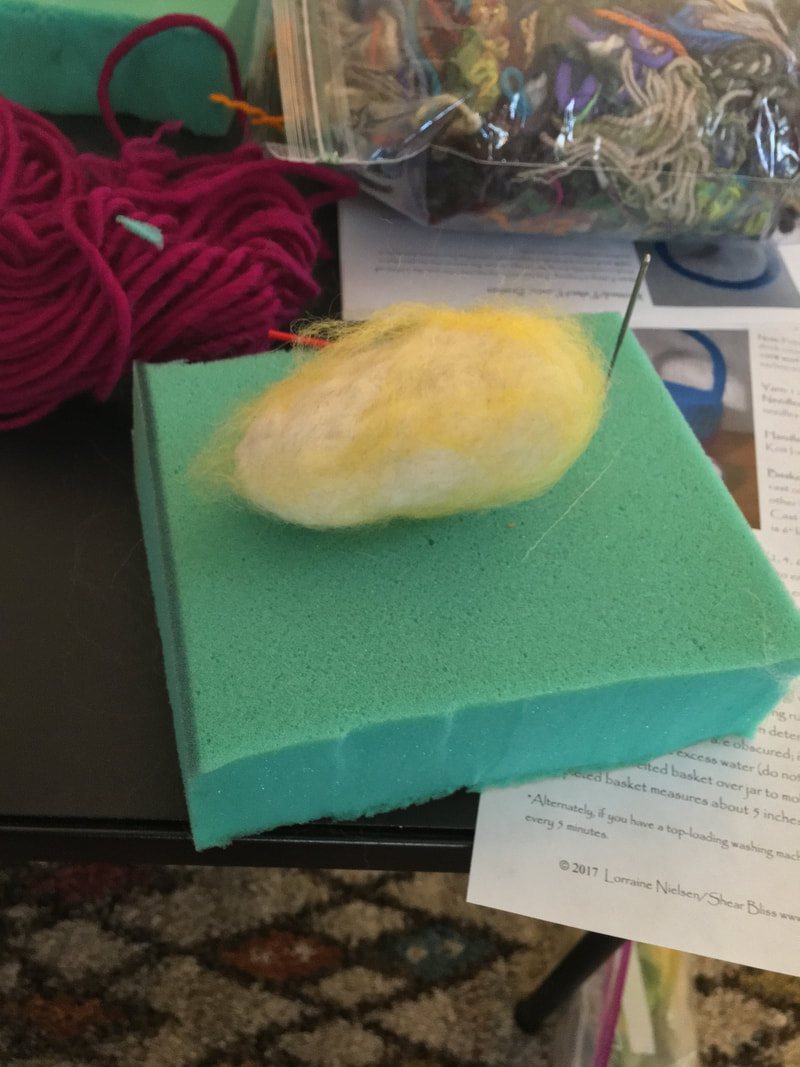 It's getting there, right? Doesn't it look like an egg? We stopped for a quick snack. I made everyone Fruit Parfait with cottage cheese, and Ree Drummond's Baked Eggs in Hash Brown Baskets. I just couldn't help myself! And they were a hit! Here's her recipe. They would be perfect for Easter! (bit.ly/2pejOSQ). 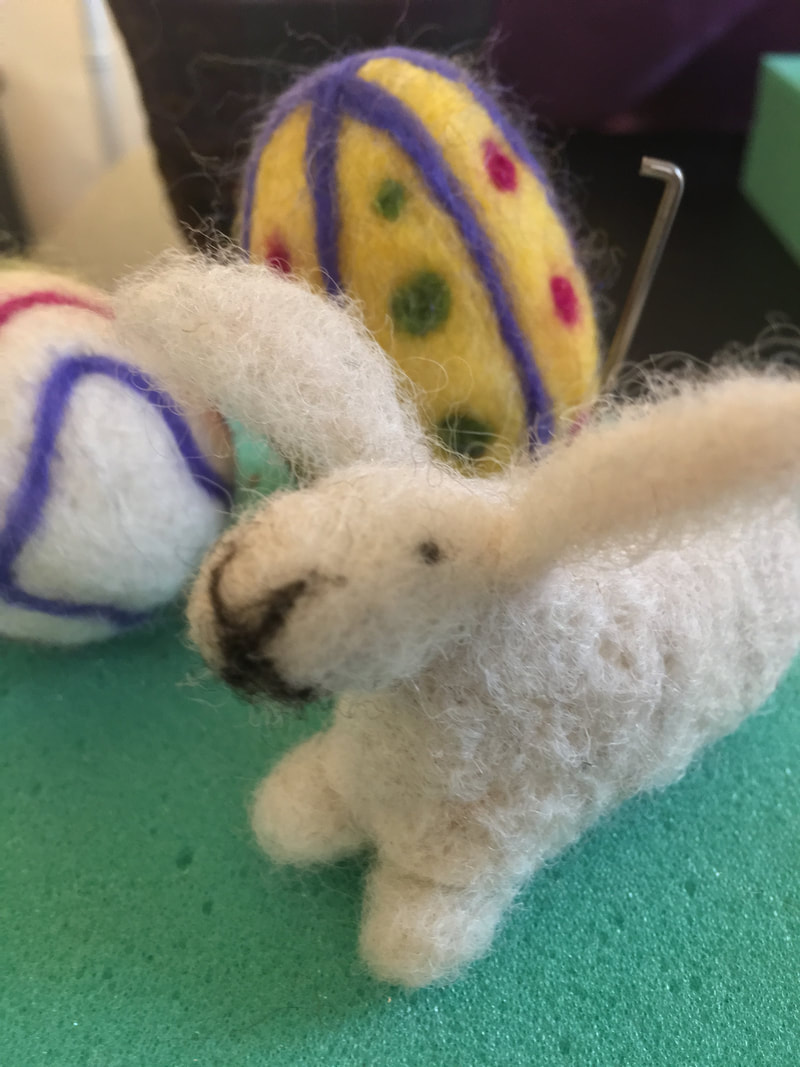 Lorraine's beautiful little bunny and eggs. Before we knew it it was 12:15!
"I've gotta run, you guys. I have two Jacob Sheep at home that I believe are just about to give birth!" I heard from Lorraine later that day. Within 1o minutes of arriving home, she had two new baby lambs! It was an amazing class. We all had so much fun laughing, eating, and poking away at our creations! We all walked away feeling excited and energized about our new craft. And we are truly prepared to create something new on our own, thanks to Lorraine and her carefully thought out class! If you missed this class, don't worry. Thankfully Lorraine has agreed to hold more classes in the future! Keep a watchful eye on the Events page for details! Thank you, Lorraine, for such a great class. And thank you to everyone who attended, for supporting local artists!
0 Comments
Leave a Reply. |
Archives
August 2023
Categories
All
|
 RSS Feed
connect
|
Josefina Fine Knits
PO Box 172
Crescent Mills, CA 95934 415-497-7514 
|
NEWSLETTER SIGN UP |